Apart from upcycling my scraps, I have been fascinated with how you can change the colour of your clothes. Adding a burst of colour, whether it be bright pink or even black, can really change the way you perceive your garment. Just like that, you can become attached to it again, and hopefully it will make its way back to the top of your pile of clothes in the wardrobe. Sad to say, we tend to ignore certain items when we get bored with them, and if you are not good with the needle and thread (or sewing machine) perhaps a packet of dye would help you in getting a "new" garment without hitting the stores.
You might remember the
DIY Batik tutorial I posted last year. I really like the way my white top turned out but I have to admit that the whole process was tedious (I was getting impatient!) and unless you live in a cold climate, the bainmarie of wax makes you all hot and sweaty!
Shibori with Batik Dye
As a result of the batik trial, I ended up with a bottle of batik dye that I had to use up. Initially I thought of doing more batik, but then who wants a wardrobe full of the same things?
I recalled my friend Yumiko telling me about Shibori and even encouraged me to do it on a dress that I had acquired at a
clothes swap.
But what is shibori?
Shibori is a Japanese dyeing technique that uses the resist method (much like batik) but instead of using wax, you shape or fold the fabric. The creases or physical pressure of objects on the fabric will act as the resist - think of it as a manual resist method. In fact, the word "shibori" comes from the verb root shiboru, "to wring, squeeze, press." Indigo is commonly used for shibori and is the dye most associated with the process mainly because there were not many dyes back in the day. Unfortunately, most indigo dyes (unless stated) are no longer extracted from plants. So even if you see "indigo" on the labeling, it is highly likely that it is synthetic rather than natural.
Traditional Shibori
The traditional way of executing shibori is to dip the whole piece of fabric into the vat of indigo after binding it with clips or string (see below).
How I did Shibori
I decided to experiment because I didn't have a big vat to put my dye in, and secondly I didn't have enough dye to soak the garment. In fact, I would not advise preparing a big vat of dye unless you are doing lots of dyeing or having a dye party with friends.
1. After rolling the garment onto a plastic bottle, I tied about 20 elastic bands to secure it before scrunching the fabric. It basically looked like a messed up scrunchy!
2. I then dripped the batik dye over the garment (not forgetting to have a bowl underneath!)
3. To take it further, I used a wet sponge and "sponged" my dress as though it was having fever. So I alternated between sponging and dripping. All this happened very randomly over the garment.
4. After the whole garment was completely soaked, I let it dry under the sun.
[Update: make sure your garment has been cleaned before you dye it]
[Update 2: The most go to place to get your dyes online is
Dharma Trading. At home in Singapore, you can try Art Friend but the selection is not wide, and I haven't been able to find indigo dyes there. ]
At this stage, I was thinking I had made a mistake because I did not see any white areas where the resist was. Obviously my eyes were deceiving me because as soon as the dress was completely dry I removed the elastic bands, and voila, I could see that the manual resist method had worked.
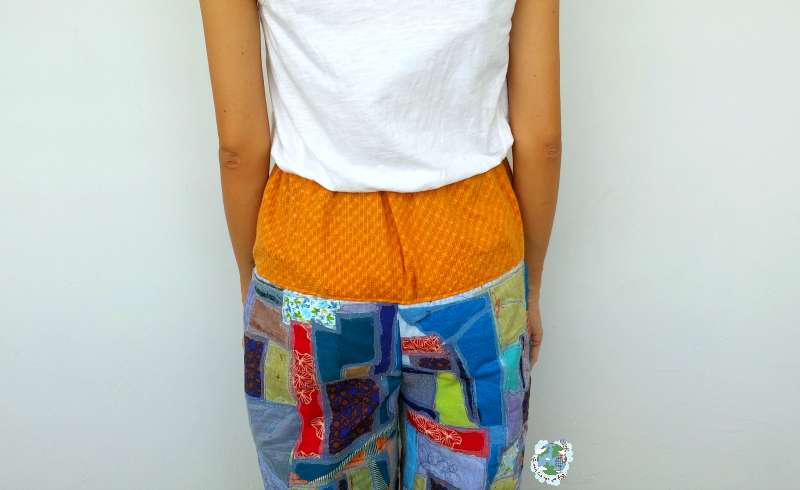
What made this different from the traditional shibori was that the garment was either a pale blue or an intense ochre; there was none of the original colour. Looking at the dress, it appeared as if I had replicated the movement of water under the sun!
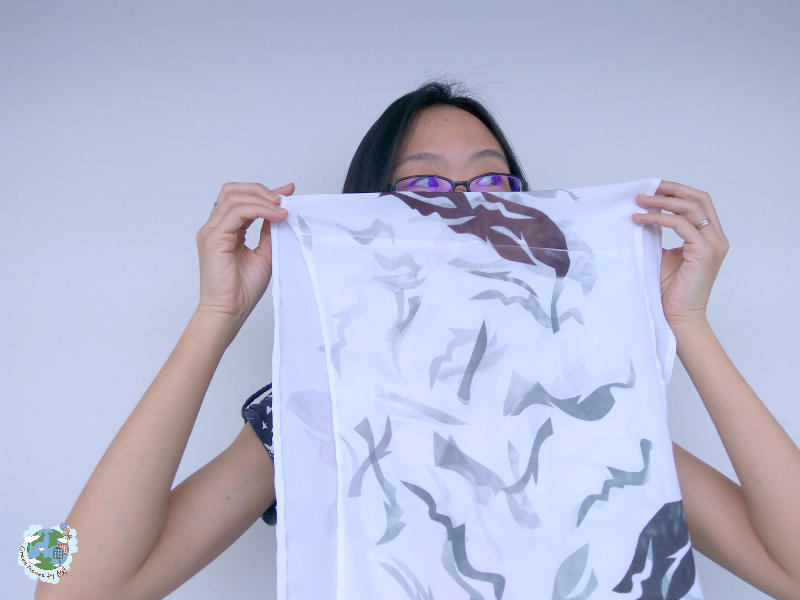
Here I am wearing it. I really love the way this has turned out and I might try it again but with a different colour. Have you tried shibori? What was your experience with it?